Program configuration for Groundhog
Please make the following adjustments to use our news server:
1
Start Groundhog like any other application.
2
If you have not configured a server address yet, you will be greeted by the following notice:
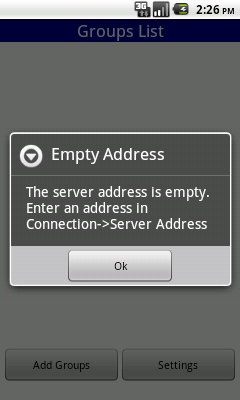
Press Ok to go to the Settings menu. If you have configured a server address from before and only see the - possibly empty - group list, press the Settings button instead.
3
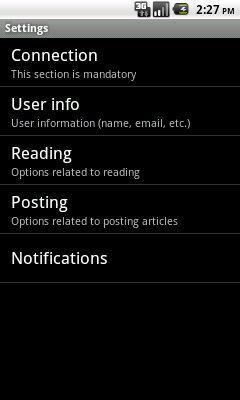
In the Settings menu, first choose Connection:
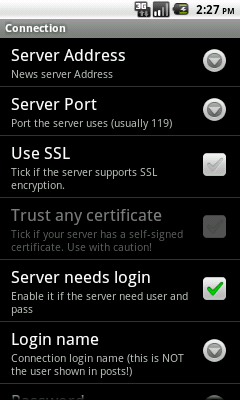
Then select Server Address:
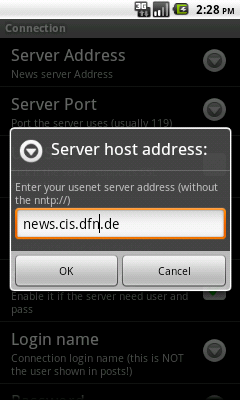
4
Enter the name of our news server - News.CIS.DFN.DE - and press Ok:
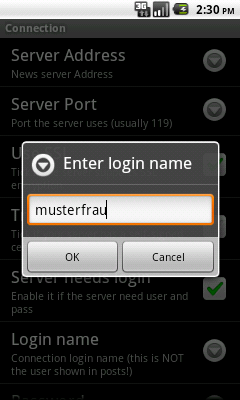
5
Then select Login name from further down the menu and enter the "username" from the account details that you have received from us. Press Ok:
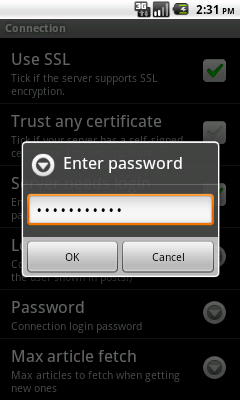
6
Finally, select Password (depending on screen size, you may have to scroll down the menu to find this option), enter the "password" from the account details that you have received from us, and press Ok.
Storing your account information in the news reader's configuration is a potential security risk. If you are unsure, please refer to our FAQ at http://news.cis.dfn.de/faq.html#1.6.
It is not necessary to enter a password if your institution is a member of the institutional access scheme (Anwenderzulassung) and you are accessing the server from your institution's network.
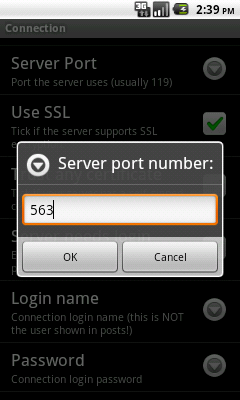
7
If you prefer connecting to our server over SSL (encrypted connection), check Use SSL and set the Server Port number to 563:
8
Next, go back to the main Settings menu by means of the Back button and select User info:
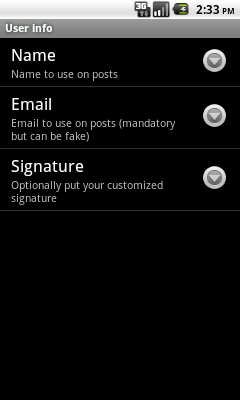
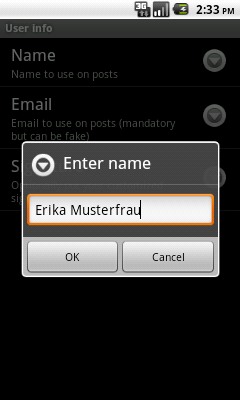
9
Under Name, enter your name as it should appear when posting on Usenet, and press Ok:
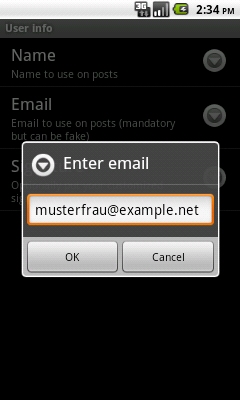
10
Under Email, enter your correct e-mail address. For spam protection, you can use the top-level domain .invalid as described in our FAQ at http://news.cis.dfn.de/faq.html#5.3. Please do not use the "fakeemail" domain that Groundhog suggests by default.
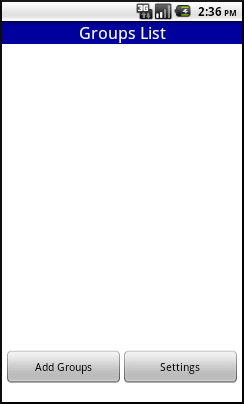
11
The basic configuration is now complete. Use the Back button to go back to the empty Groups List, and press Add Groups to subscribe to the groups you are interested in:
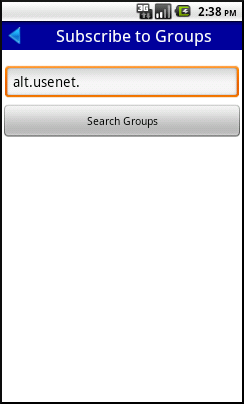
12
To subscribe to a group, type a part of its name and press Search Groups. When you do this for the first time, Groundhog will connect to our server and download the group list, which can take while depending on your connection speed. If you made a mistake entering our server name in step 4 above, this is where the error occurs.
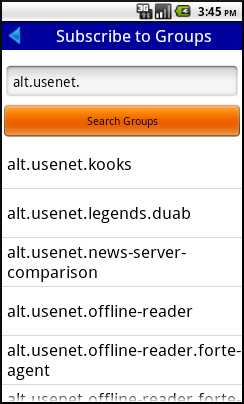
13
A selection of groups matching your search will appear:
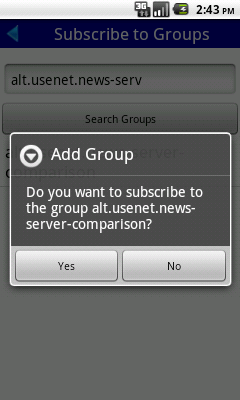
14
Select the group that you want to subscribe to, and confirm by pressing Yes:
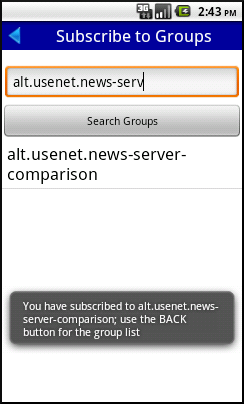
15
Repeat until you have added all the groups you want, then return to the Groups List by using the Back button:
16
In the Groups List you now see the groups you just added. In order to download some articles, press the Menu button:
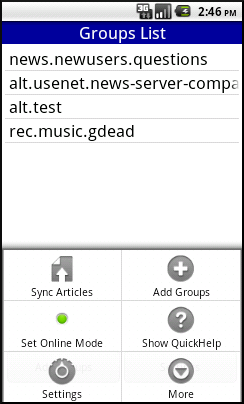
Then select Sync Articles:
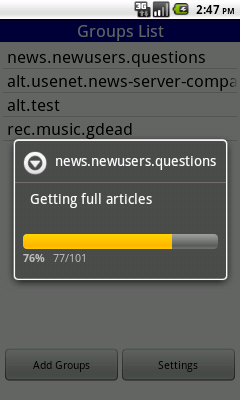
After a while, the Groups List shows the unread article count in front of the group name:

17
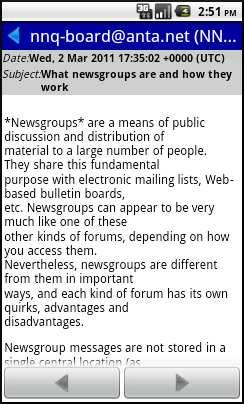
Select a group to see a threaded view of its articles:
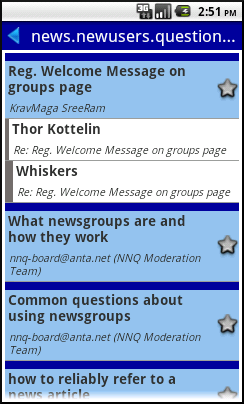
Tap on an article to read it; use the left and right arrow buttons to navigate to the previous or next article: